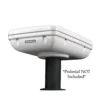
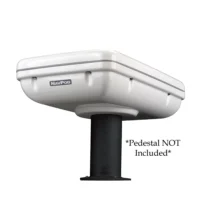
StarPod Housing Only for Starlink Roam/RV Antenna – Base Not Included
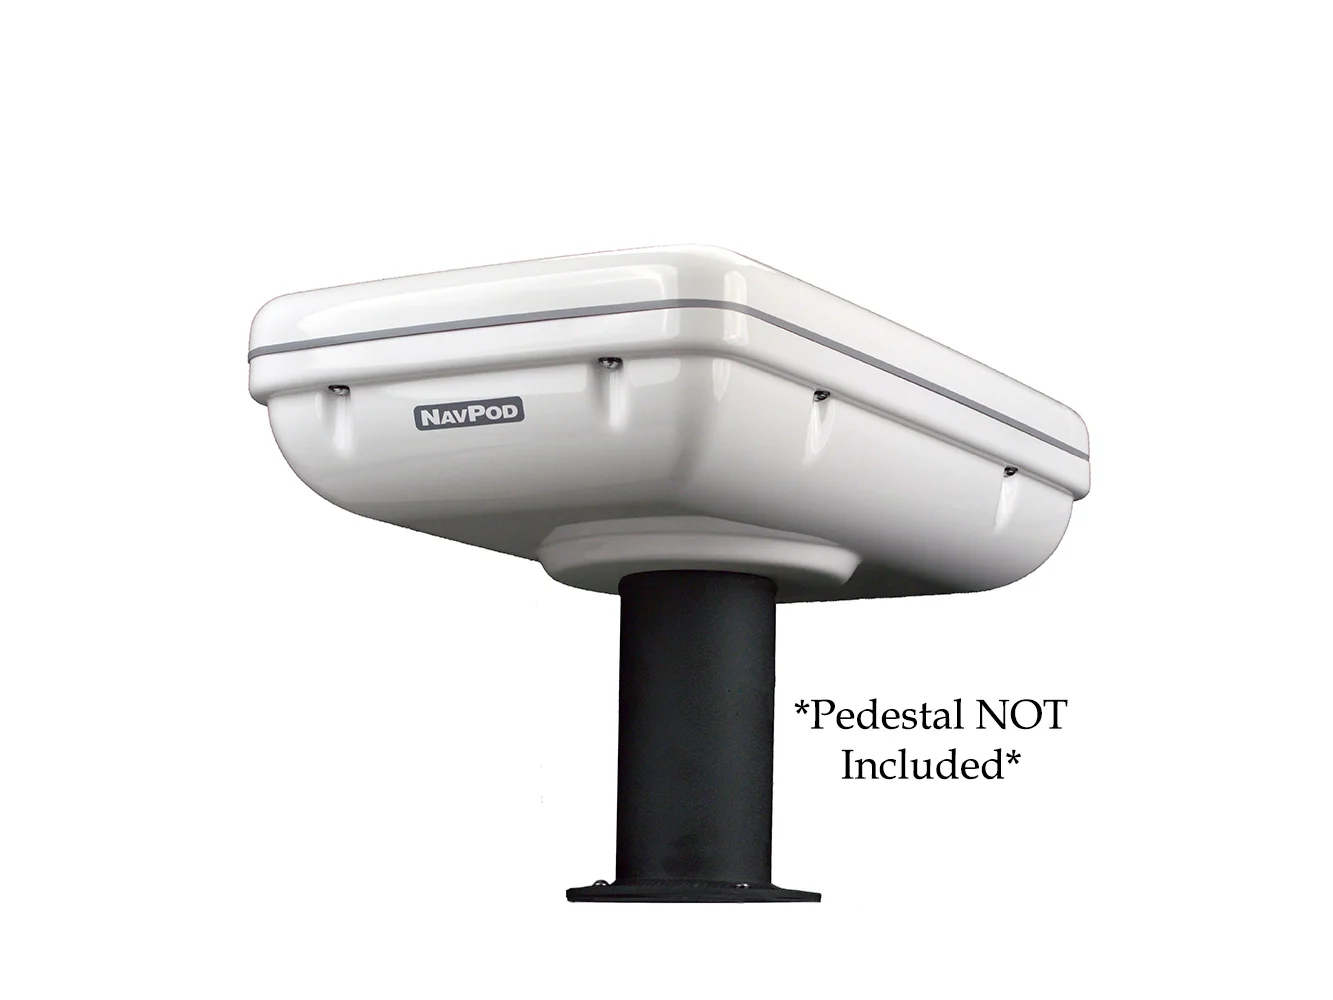
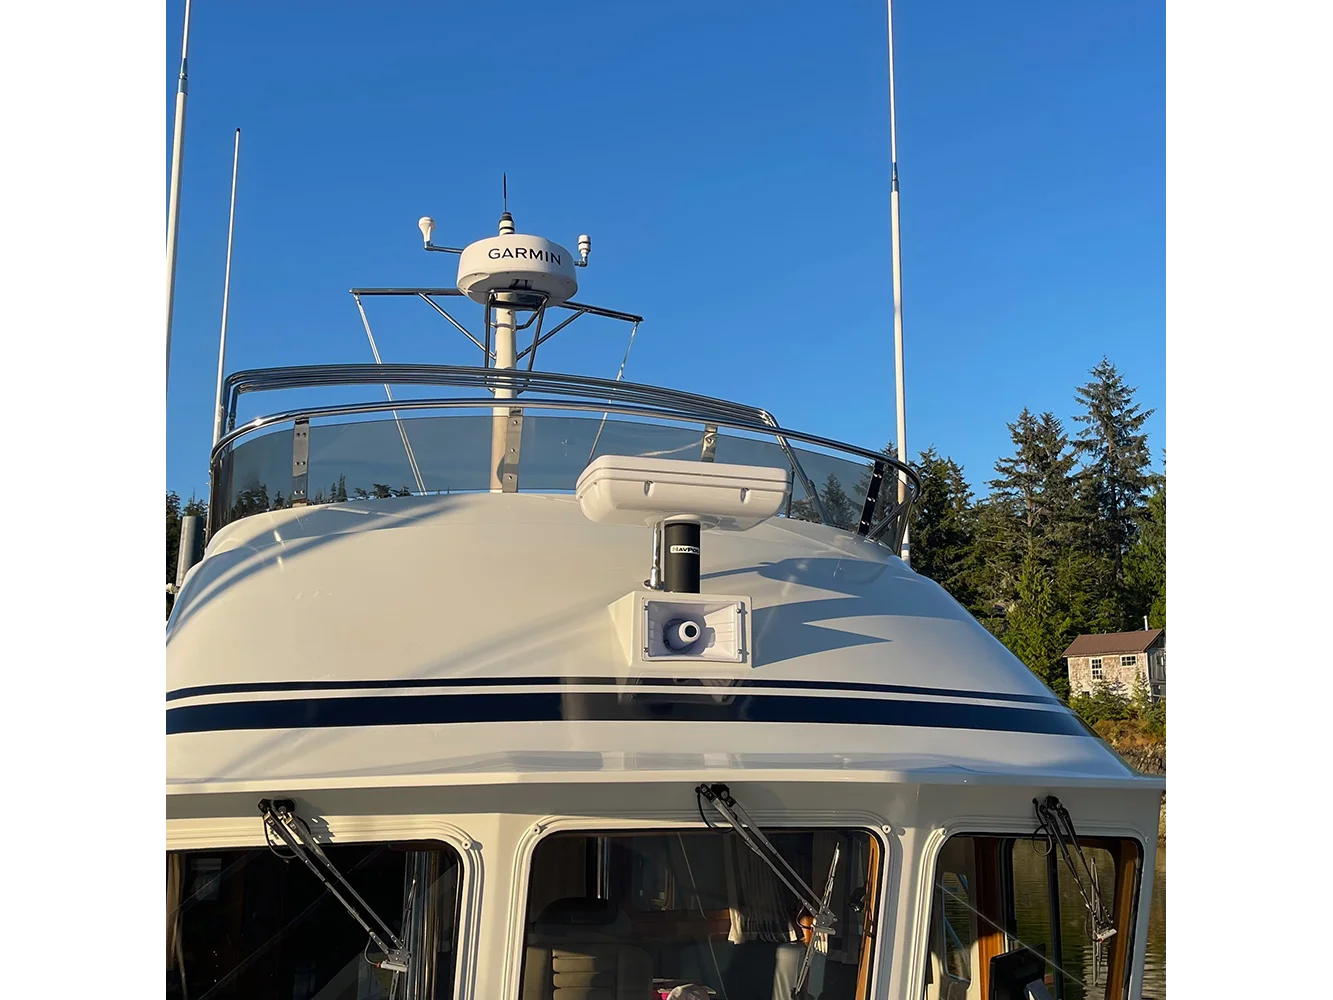
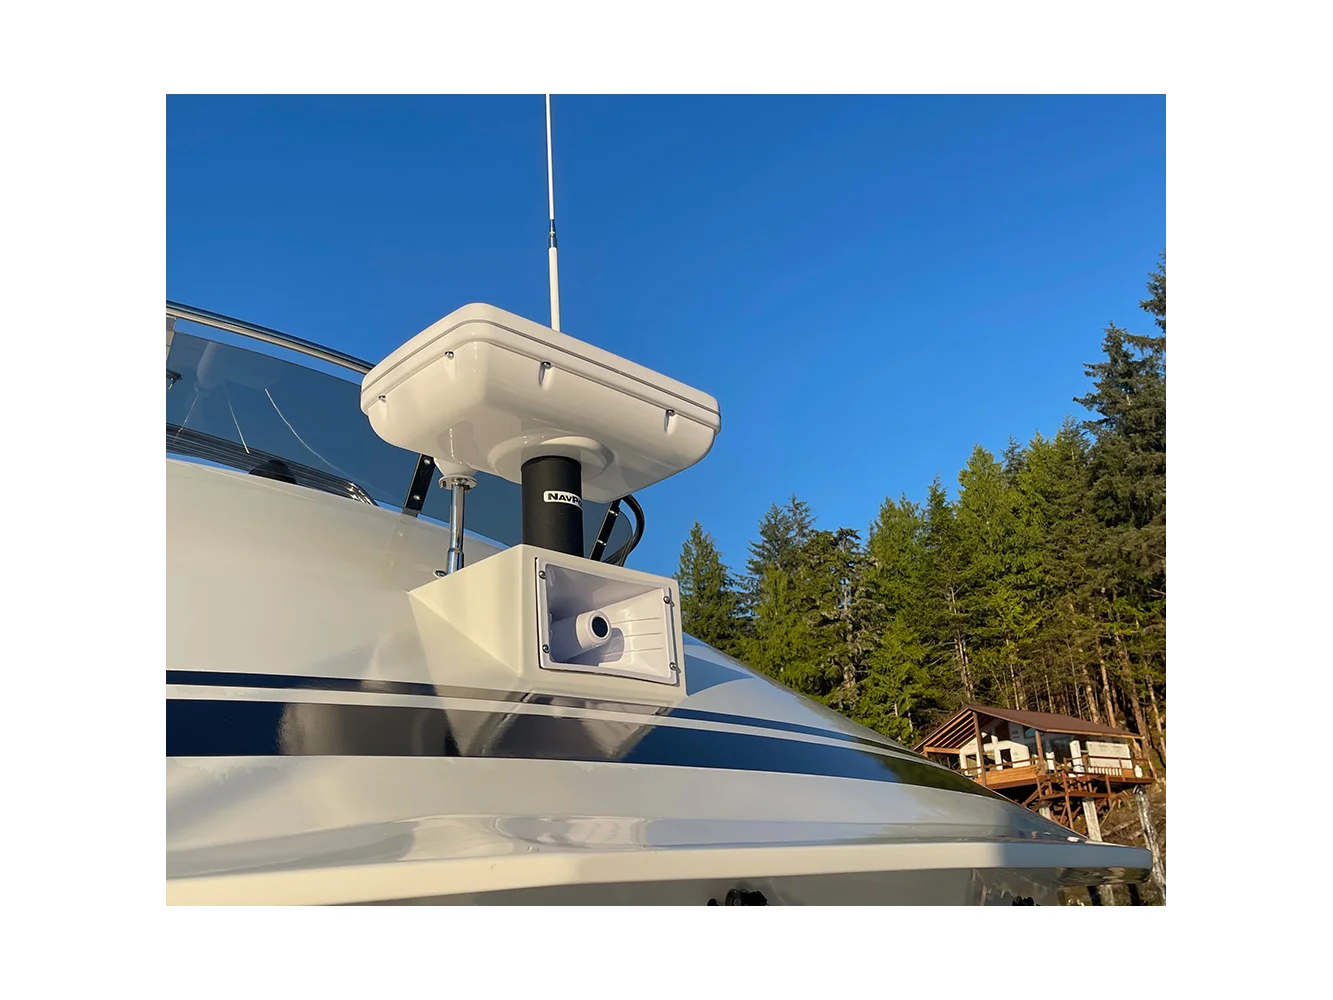
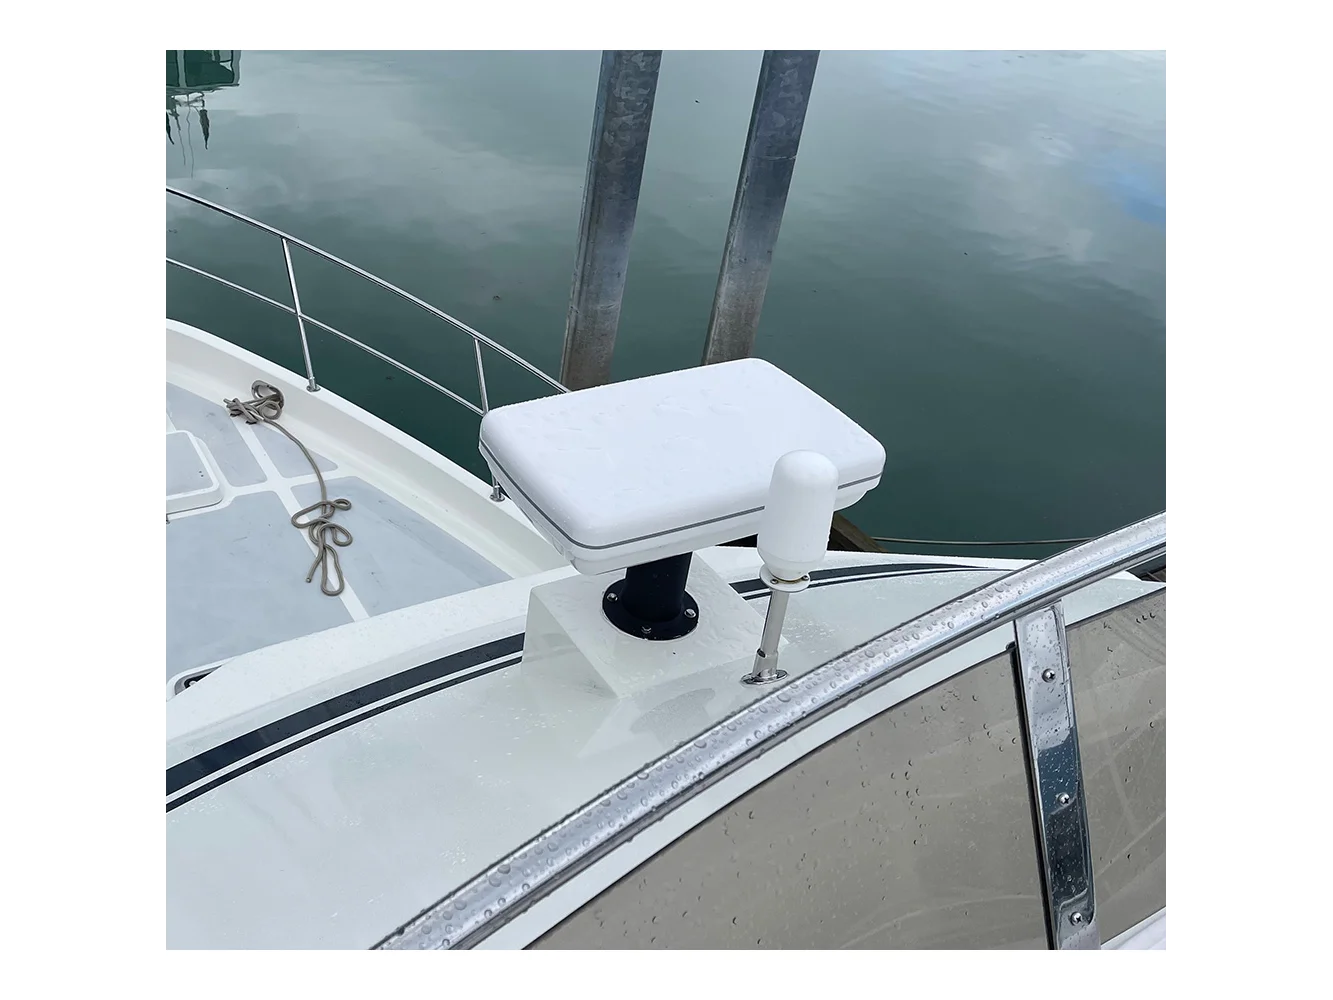
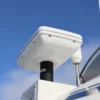
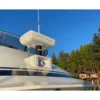
The StarPod from NavPod is a waterproof housing designed for permanent mounting of the Starlink Roam/RV antenna, typically on a yacht’s hardtop or radar arch. The StarPod housing fits Starlink model UTA-212 (dish face measuring 20.2” x 11.9” / 513 mm x 303 mm).
NavPod model SP212-H includes the StarPod housing only and is intended for installations where the housing will be mounted on an existing or third-party pedestal. A compatible pedestal should have an upper mounting surface no larger than a 7.5” diameter circle, which is the available mounting surface on the bottom of a StarPod housing.
Third-Party Accessory Disclaimer:
The NavPod and StarPod brands are in no way affiliated with the Starlink or SpaceX brands. The company’s products are third-party accessories, distinct from the brands and products they are designed to house.
What are the benefits of mounting a Starlink dish in a StarPod?
StarPod protects Starlink and completely encloses the Starlink antenna in a very sturdy and attractive waterproof housing. Testing has proven that there is no degradation of signal inside the thermoformed acrylic-capped ABS housing.
The Starlink Roam dish was originally designed for RVs, not boats. Its waterproof rating of IP54 is a long way from the IP67 rating NavPod is accustomed to in boating from the likes of Garmin, Raymarine, and others. Mounting a Starlink dish inside a StarPod provides additional protection from water intrusion, just as all NavPods have done for other marine electronics for over 25 years.
How do I mount a Starlink dish inside a StarPod?
The 4-legged “X” base that comes with a Starlink Roam dish is not utilized when mounting inside a StarPod; only the dish and attached mounting pole are used. The center post of the Starlink dish is inserted through the center hole in the bottom of the StarPod and extends into the chosen mounting pedestal.
The initial Starlink setup process should be completed before mounting the dish inside a StarPod (refer to your Starlink setup and installation guide for this process). One important thing to note during the setup process is to make sure that the “Snow Melt” setting in the Starlink app is turned to “Off” (this feature produces excess heat to keep snow from piling up on a Starlink dish in winter environments, but is unnecessary and can potentially cause overheating when the dish is mounted inside a housing).
Once the initial Starlink setup process is complete, the next step is to get the dish into a horizontal, or “flat” position, perpendicular to the mounting post. To get the dish into this position, unplug the Starlink dish, then plug it back in and turn it on. The dish will begin to move as part of its startup process, so just wait until it’s in a horizontal position and unplug the dish. This may take a couple of attempts, so just repeat as necessary until the dish is powered off in a horizontal or “flat” position. At this point, the dish can now be mounted inside the StarPod housing (using the instructions and hardware included with the StarPod).
How can the Starlink dish move if it’s inside a StarPod?
It can’t, but that’s okay. When powered on inside the StarPod housing, the Starlink dish will initially move as it looks for a signal. However, when the dish bumps into the inside of the housing and is unable to move any further, it will simply register an obstruction and discontinue its movement (a feature built
into the dish to prevent the motor from burning out when it’s positioned next to a tree branch, ceiling, or other obstruction). The StarLink app may notify you of the obstruction, but the dish will continue to operate normally otherwise.
There are several methods you can find on the internet for disabling your Starlink motor to achieve a fixed position. While these methods can be effective, it’s important to note that any modification of your Starlink antenna (drilling or cutting into the case, disconnecting internal cables, or any disassembly at all) will void the product warranty.
If the Starlink dish can’t move, how can it get a good signal?
Short Answer: A Starlink dish installed on a boat in a fixed horizontal position will achieve the same signal quality as a dish that’s free to move and adjust position.
Long Answer: The Starlink Roam dish utilizes phased array technology. Rather than searching for a single satellite to point to (like older 18″ and 24″ satellite TV antennas), the Starlink dish is continuously switching between different satellites every few minutes (satellites that are moving at very high speeds and orbiting much lower than traditional TV and internet satellites). When a Starlink dish moves, it isn’t trying to point toward a particular satellite; it’s just looking for a clear view of the sky. Since this dish was originally designed for RV use, the movement of the dish was designed to allow it to point away from overhead obstructions like trees and buildings that might prevent a clear view of the sky. While this functionality makes sense for RV use, it is much less functional for boating use, where the dish would almost never encounter any overhead obstructions.
When testing, a Starlink dish mounted and immobilized inside a StarPod achieved the same signal quality and internet speed as a dish that was free to move outside of a housing. Neither the fixed horizontal positioning nor the housing material itself resulted in any signal degradation as long as the dish had an otherwise clear view of the sky (as it typically would on a floating vessel).
Liability Disclaimer:
NavPod assumes no liability for any violation of Starlink product warranty or terms of service that may result from modifying a Starlink dish or mounting it inside a StarPod.
General Information:
StarPod is manufactured by Ocean Equipment in Bend, Oregon, USA, using the same time-proven materials that are used to fabricate the popular line of NavPods, waterproof housings for marine electronics.
All NavPods Feature:
Structural Rigidity – The Gen3 enhancements now include a thicker gauge of acrylic-capped ABS material that improves strength and provides better structural rigidity. This thicker material allows for a larger waterproof seal. The better the structural rigidity, the less flexing when tightening, and the more uniform pressure on the seal. The excellent UV stability of the acrylic is combined with the durability of the ABS. The acrylic cap protects the ABS from UV and its potentially damaging effects on plastic.
Waterproof Seal – All NavPods are manufactured with a double gasket system, providing an excellent watertight seal. This seal provides the best protection for your marine electronics. StarPods are made to withstand the harshest wet offshore boating conditions. Gen3 enhancements include a thicker external silicone gasket with an improved flush fit. The internal Poron Microcell Polyurethane gasket is now 50% thicker and is not subject to a “compression set” like many rubber compounds. This is important when you need to open the NavPod in the future to service your electronics. The gasket will continue to do its job.
Nickel Chrome-Plated Stainless Steel – The company uses all 316 stainless steel hardware that is supplied with each NavPod. Large round-head tamper-resistant screws have deeper sockets to match the NavPod wrench for better holding ability when tightening. The nickel-chrome-plated stainless steel tamper-resistant screws provide security combined with a little style!
Commitment to Quality – Navpod stands behind its commitment by offering a 10-year warranty on all new NavPods, including the StarPod.
| Videos | https://www.youtube.com/embed/HbeXm8kzvuc?si=Y4o7oDlVLb26JI4Y |

